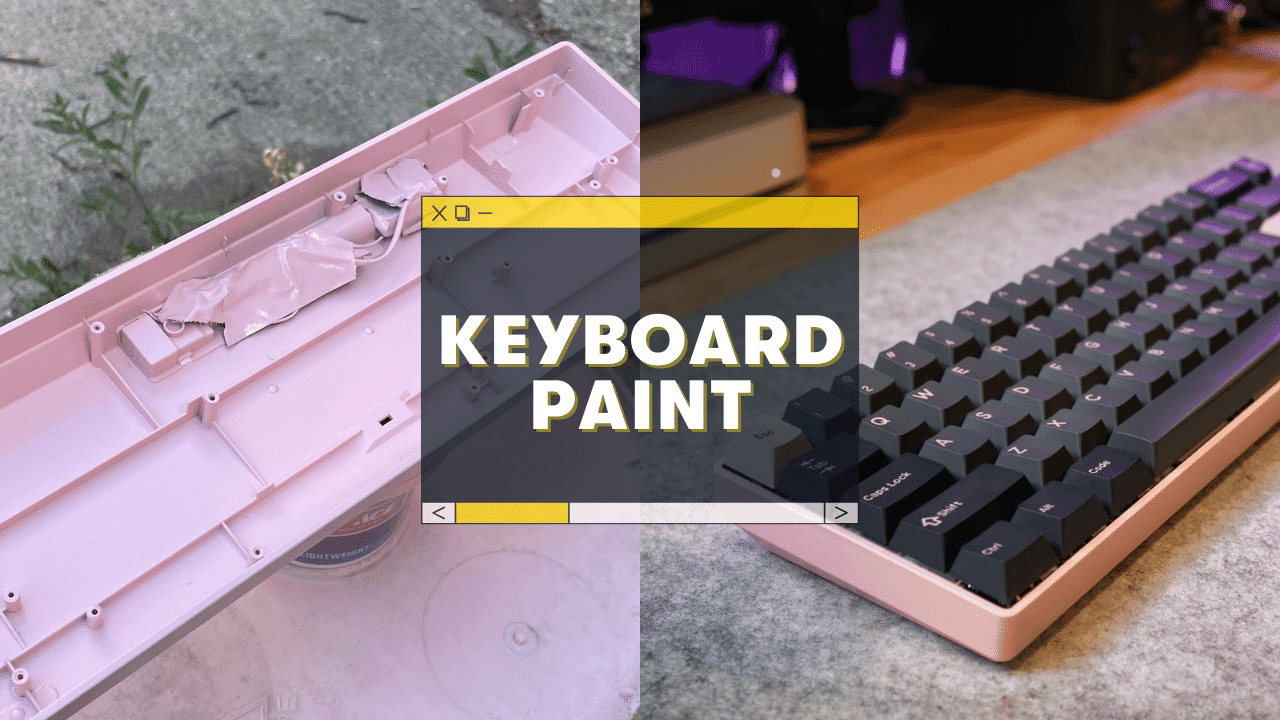
Tired of that 1990’s black keyboard look and want to spice up your desk?
Painting your keyboard is surprisingly easy (and fun), and allows you to get EXACTLY the design you’re looking for! ⌨️
Here’s how to paint your keyboard:
- Choose your colors/designs
- Purchase keyboard paint (and a few other materials)
- Remove keycaps & take apart your keyboard (optional)
- Sand the paint area (optional)
- Apply a few coats of paint (probably spray paint)
- Coat with a clear sealant
But be careful…
There are definitely some pitfalls you’ll want to watch out for if you want your keyboard to FUNCTION (and look great).
As a long-time mechanical keyboard nut–I’ve had my fair share of “painting disasters.”
Below I’ll walk you through the right way to paint your keyboard, step-by-step 👍
Let’s paint!
Can You Paint a Keyboard? Or should you?
Yes, you can paint just about any keyboard (mechanical keyboard or otherwise), but you should consider a few essential things.
First, you will likely void the warranty on your keyboard.
Second, you should take a few precautions to ensure the keyboard continues to function (such as using the correct type of keyboard paint, disassembling the keyboard, taping over the parts you don’t want to be painted, etc).
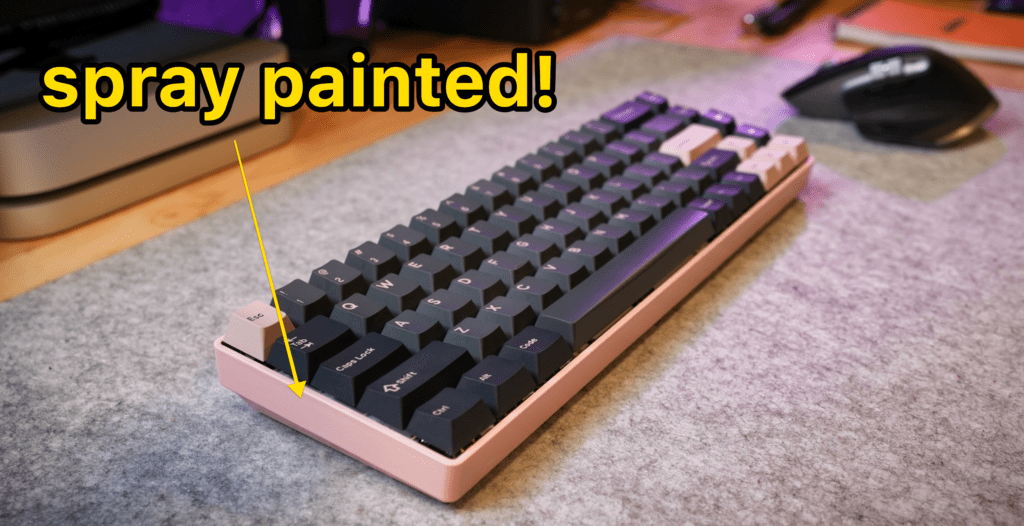
That said, painting a keyboard is surprisingly easy once you start, and can be a fun way to customize your desk setup!
What Paint Is Best for Keyboards?
Although you’ll want to check the material of your keyboard first (plastic or aluminum?), there are a few options. If you prefer to paint by hand, you can use multi-surface acrylic paint.
But spray painting your keyboard is the best way to get a smooth, consistent coat!
It’s fast, easy, cheap, and tends to stick well (as long as you use primer first, or use a “paint and primer” mix.
If you want to hand-paint using acrylics, I recommend Americana multi-surface Satin paint.
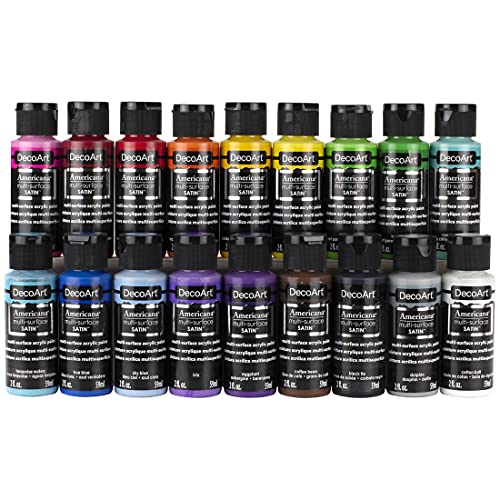
- Superior flow and leveling
- Permanent, lightfast pigments
- Intermixable colors
These are also available individually on Amazon, or at your local craft store.
For spray paint, any brand that mentions your keyboard material, or says “multi-surface,” should work just fine!
For finishes, I recommend either:
- Matte – a more textured look that sticks well
- Satin – smoother, slightly more durable without being too shiny
I don’t recommend flat or high-gloss.
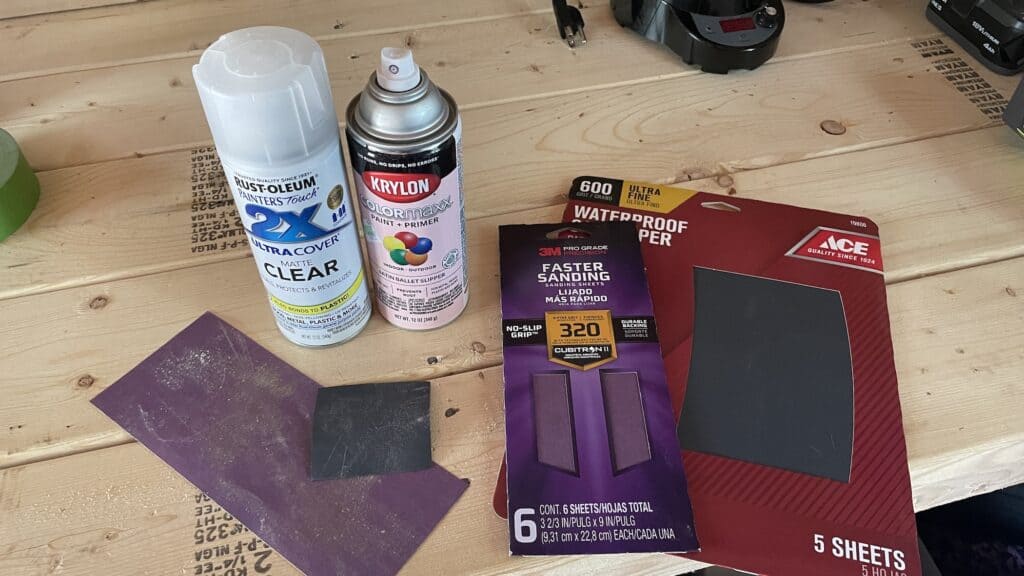
You’ll also want to grab a clear coat sealer (finisher, clear varnish, etc) to lock in the color.

- Ideal for use on interior/exterior surfaces including wood, plastic, plaster, metal, masonry and unglazed ceramic
- Oil-based formula is low odor, resist chips and provides long-lasting protection
- Dries to touch in 20 minutes and covers up to 12 sq. ft. per can
We’ll talk about this more below 👍
How to Paint Your Keyboard (Step-by-Step)
For this guide, we’ll be spray painting a mechanical keyboard, but I’ve also made some notes below in case you’re looking to customize a normal membrane keyboard).
1 – Determine which paint you need (based on your keyboard material)
Most keyboards are made from plastic (the case at least), but some might be aluminum or some other material–check your keyboard case material to make sure your paint will stick!
If you’re going to paint your keycaps (the removable keys that your fingers touch), these are almost always plastic.
See below for how to paint keycaps.
2 – Purchase your keyboard paint (and other materials)
Here’s a list of the materials you’ll probably need:
| Material | Optional or Required? | Notes |
|---|---|---|
| Paint | Required | Spray paint from Amazon or your local craft store. I like the Rustoleum brand in either matte or stain finish! |
| Clear Top Coat | Required | After painting, you’ll definitely want a clear top coat to protect the paint! |
| Primer | Optional, but strongly recommended | Primer will help your paint stick. Some spray paints are paint and primer in one (up to you if you want a separate primer first. I usually don’t). |
| Sandpaper | Optional, but strongly recommended | You’ll want 300 or 400 grit to rough up the surface BEFORE you paint, as well as 500-1000 grit to smooth out between coats. See below. |
| Painters Tape | Optional, but strongly recommended | Only needed if there are areas you DON’T want painted (see below) |
| Newspaper | Optional | Handy for putting underneath whatever your painting. Easy cleanup |
Personally, I recommend heading to your local craft shop (which will have a better selection than Wal-Mart, Meijer, Target, etc).
Otherwise, you can also shop on Amazon.
Once you’ve chosen your paints and picked up the accessories you need, it’s time to prep your keyboard.
3 – Remove your keycaps
Using a keycap puller, gently remove the keycaps and set them aside.
Even if you play on painting your keycaps, never paint them while they’re on the keyboard! You do NOT want paint on the underlying PCB, electronics, etc.
You might also snap a picture of your keyboard BEFORE you remove the keycaps, so you don’t have to look up which keys go where.
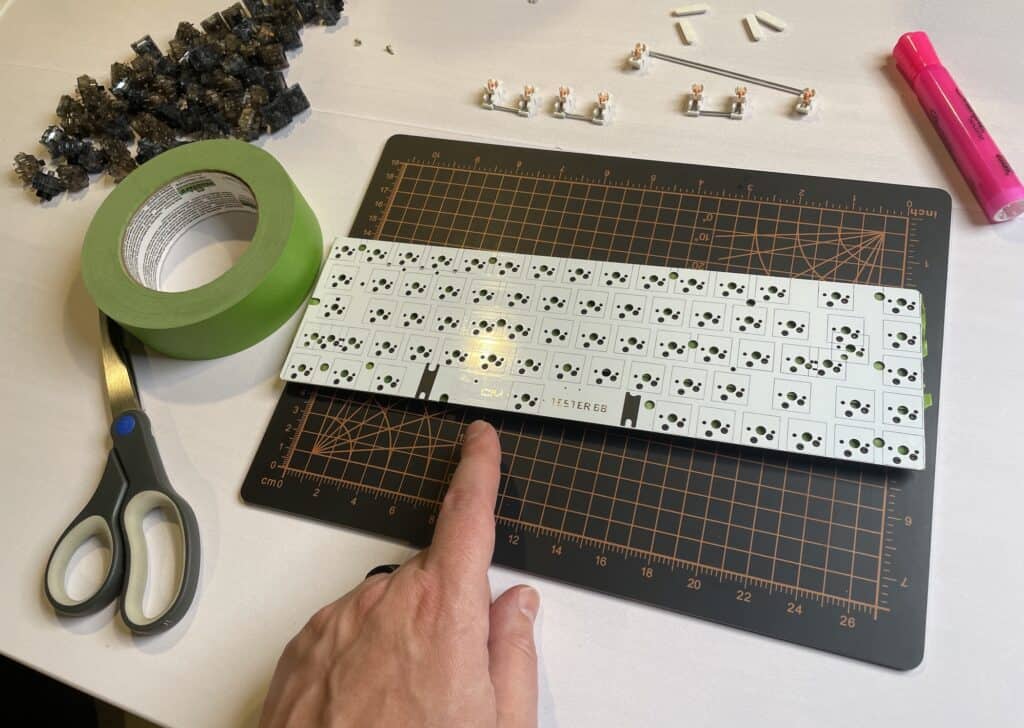
4 – Take your keyboard apart (optional).
This step will be different depending on how you’re painting your keyboard.
If you have a mechanical keyboard, you should disassemble your keyboard.
The process differs from keyboard to keyboard, but the general process looks like this:
- Remove keycaps
- Remove switches
- Remove the screws (usually 4 or 6) holding your plate or PCB to the bottom of the case
- Detach the PCB from the bottom of the case (sometimes there’s a wire you need to disconnect from the USB outlet)
- Gently remove the PCB/Plate combo and set aside.
Although you could just tape over the internal parts of your keyboard, I wouldn’t recommend it!
Spray paint tends to get everywhere–even underneath well-taped areas.
And if paint gets into your PCB (circuit board), your keyboard might not function properly or get sticky keys.
If you’re painting a “normal” keyboard, i.e. non-mechanical keyboard:
You can probably just remove the keycaps (with a keycap puller or gently with a screwdriver), and tape over the internal parts of the keyboard.
It’s still dangerous, but probably more forgiving than a mechanical keyboard. Some people prefer to hand-paint normal keyboards rather than spray paint, and it’s because they’re generally harder to take apart!
One last tip: stay organized with any parts you take off!
You can grab some bowls to set screws in, etc. You don’t want to lose anything!
Other things you might take off your keyboard case:
- The rubber feet on the bottom, if your keyboard has one
- The “angle adjustment” pieces under the keyboard
- Any screws that are on the outside of the case
- Anything else electronic, circuits, cords, etc, that can be taken off.
5 – Tape Off Areas You Don’t Want to be Painted
Using painter’s tape (I prefer frog tape), place tape over any areas that shouldn’t be painted.
These areas could include:
- The rubber feet of your keyboard (you can also remove these)!
- The internal USB connection
- Any cords or wires (just wrap the tape around them)
- Any small holes or screws that paint could clog up
- etc
Additionally, you can also use tape to make cool designs!
You could place thin lines of tape to create stripes or tape the top half of the case for a multi-colored look.
The sky’s the limit.
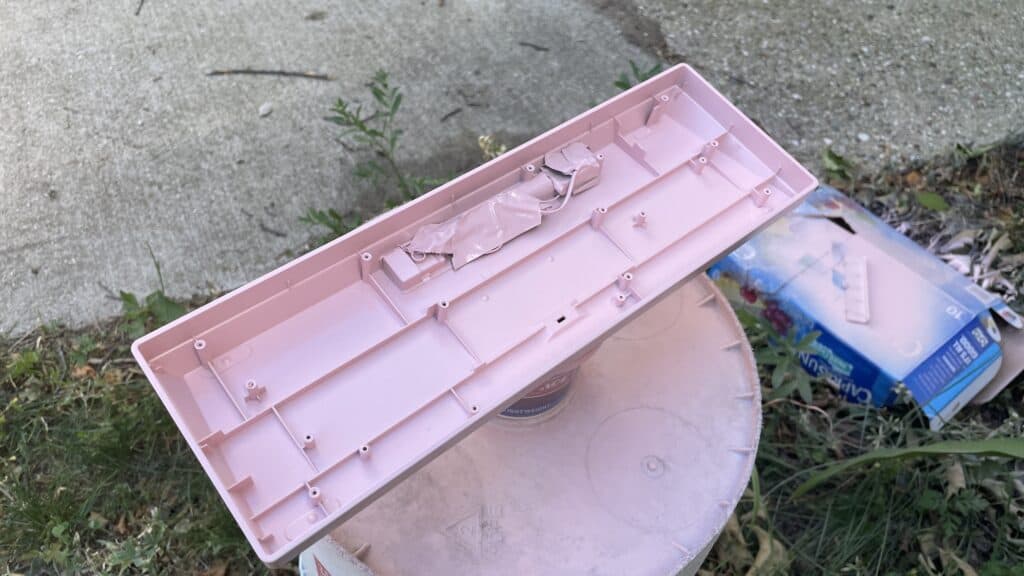
6 – Find a Suitable Place to Paint (Outside?)

If you’re hand-painting using acrylic paint, you’ll just want to place newspaper underneath your project area.
If you are spray painting your keyboard, you’ll definitely want to work outside!
You might also consider the weather conditions:
- If it’s a windy day, this could make it harder to spray paint
- Don’t spray paint on a rainy or snowy day, of course
- If it’s REALLY hot (80 degrees F or more), you need to allow for longer dry times!
Personally, I spray paint outside and set my keyboard on an old bucket (that I don’t mind getting paint on).
7 – Rough Up the Surface With Sandpaper (Optional)
Using medium-grit sandpaper (300 or 400), gently rough up the painting surface.
This will help the paint and primer to stick better and give a smoother finish in the long-run!
You can also “wet sand,” which involves spraying a bit of water on the surface and sanding it.
Personally, I haven’t found much of a difference between wet and dry sanding, so I usually just dry sand using 400 grit sandpaper.
8 – Apply Primer (Optional)
If you’re hand-painting using acrylics, you probably don’t need primer.
If you’re using a “paint and primer in one” spray paint, this step is optional (but can still be helpful).
Primer will drastically improve how your spray paint adheres to the plastic/aluminum.
I personally just choose spray paints that are “paint and primer.” I’ve never put down a primer coat first, but if you have it around, it couldn’t hurt!
9 – Apply Your Paint (In Light Coats)
Your goal should be to apply several lighter coats of spray paint, sanding lightly in between.
You could probably get away with as little as 2 or 3 coats, for 4 or 5 will likely look better and be smoother and more consistent.
Here are some spray painting tips:
- Angle the spray paint at roughly 45 degrees (though obviously, you’ll have to turn it a bit)
- Keep the can about 12 inches away from the surface of the keyboard
- Use smooth, even movements with your arm
- Begin spraying just AFTER you start moving your arm
- Go for LIGHT coats!
Multiple light coats will allow you to highly sand down the paint (removing spots, blemishes, etc) between coats.
10 – Allow drying completely
Although your paint might recommend as little as 15-30 minutes to dry before applying another coat, I recommend letting it dry even more!
Since this is an object that sits on your desk and that you literally touch every day, you do NOT want a sticky keyboard!
Let each coach of paint dry for an hour or two at least.
Have patience 😉
11 – Lightly sand the keyboard after each coat of paint
Using 500-1,000 grit sandpaper, gently sand down each coat of paint after it has completely dried.
Sanding accomplishes a few things:
- This will leave a much smoother finish
- Sanding will remove any splotches of drips of paint
Again, you can either wet sand or dry sand.
Just be sure to use a higher grit sandpaper so you won’t accidentally scratch the paint.
12 – Apply a clear top coat to seal the paint
Using a clear varnish or other clear coat, apply a few coats over the paint.
I recommend at least 2-3 coats of clear top finisher!
This will not only protect the paint from fading, it will also protect the keyboard from minor scratches, and make the finish smoother and less sticky.
You’ll want to stick to the same finish that you used for paint.
Matte, satin, or maybe semi-gloss.
Make sure to let the clear top coat dry thoroughly between each coat, as well!
13 – Re-assemble your keyboard and test each key
Carefully re-connect and re-assemble your keyboard, starting with the internal PCB and case, and then the mechanical switches.
But before you put your keycaps back on, you should test the keys to make sure they still work.
- Plug your keyboard in
- Head to a site like https://en.key-test.ru/ (this makes testing easy!)
- If you find a key not working, you’ll need to investigate why!
If your keys work as expected, you can put your keycaps back on and enjoy your beautifully-painted keyboard! ⌨️
Can You Paint Keycaps?
Yes, you can absolutely paint the plastic keycaps for your keyboard. However, there are a few important things to consider before you do this!
First, you’ll definitely want to remove the keycaps from the keyboard for painting.
Second, you should consider that the keys will feel and behave differently (possibly stickier and heavier).
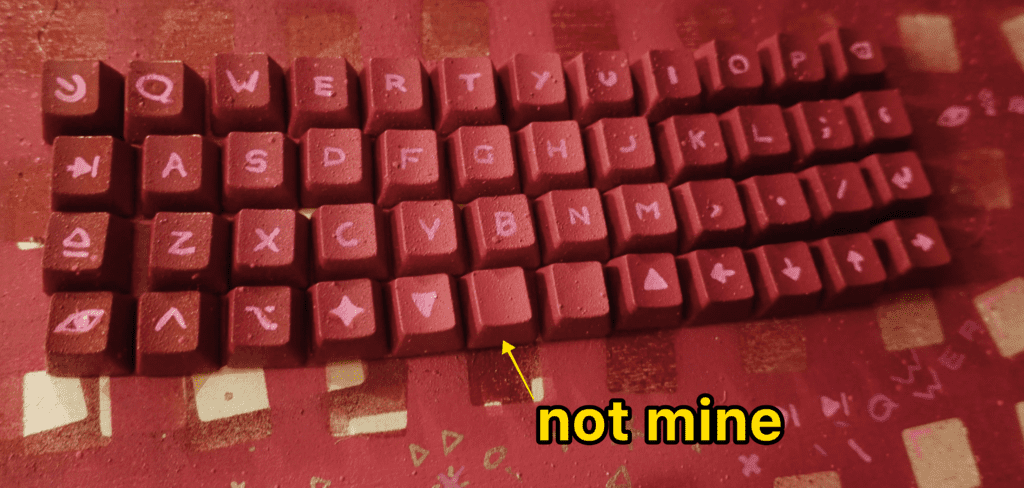
Last, if you paint over the legends (the printed or transparent numbers, letters, symbols, etc, on the top of the keycap), you’ll have to get used to them NOT being there.
Here are my tips for painting your keyboard keycaps:
- If you paint over the legends, you can use a fine-tip Sharpie to write the legends back on
- Make sure to carefully line up your keycaps by row as you paint–so you can put them back on the keyboard in the correct spot. Most keycaps are different heights, depending on the row!
- You can spray paint keycaps just like you would the keyboard case. Use several lighter coats of paint with light sanding in between, as well as a clear top coat to finish.
If you don’t want to paint your keycaps, you can always buy a new set to match your painted case!
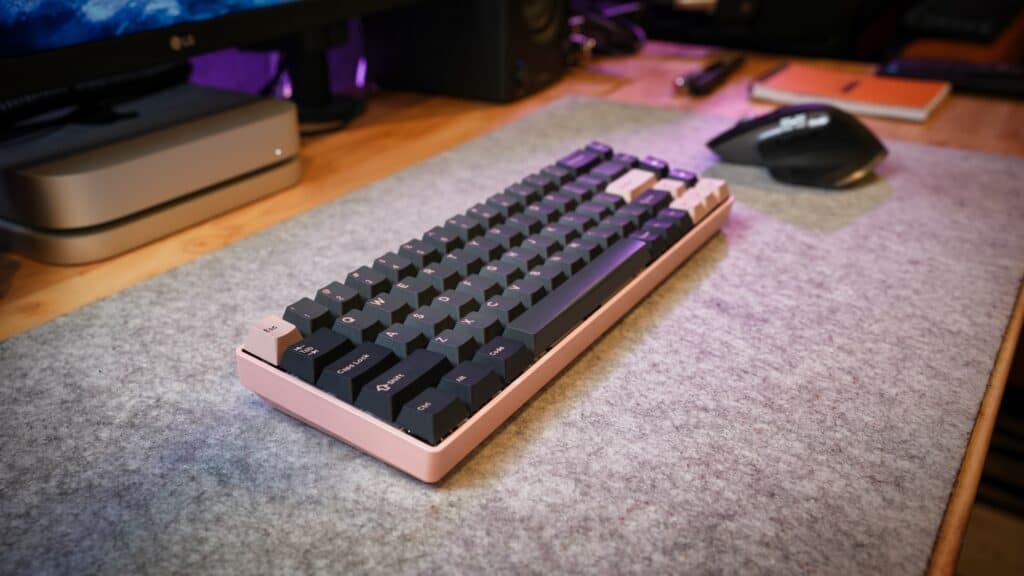
Conclusion: Why paint your keyboard?
Painting your keyboard is a fun and rewarding experience, and it’s surprisingly easy and cheap to do!
The designs and color schemes are only limited by your creativity.
Happy painting & clacking 😉
Keyboard Paint F.A.Q.s
Can I paint my laptop keyboard?
Technically yes, there are several ways to paint a laptop keyboard, but it is not recommended. First, it will likely void your computer warranty. Second, since laptops are difficult to take apart, you will need to be incredibly careful and detailed about taping off unwanted areas, between and under keycaps, etc. This is very difficult, and spray paint could still get in unwanted places! This could lead to sticky keys or worse. You can also hand-paint your laptop keyboard with acrylic paint, but this also has the same negative side effects.
Can you color a keyboard?
Yes, you can absolutely paint your keyboard a different color. You can either hand-paint with acrylic paint, or use spray paint. However, there are several precautions you should take to make sure you don’t ruin your keyboard or make it more difficult to type on!
How can I decorate my keyboard?
There are several fun ways to decorate a keyboard, including painting your keyboard case (more involved), painting your keycaps, or even purchasing fun stickers to place on your keycaps or the case.