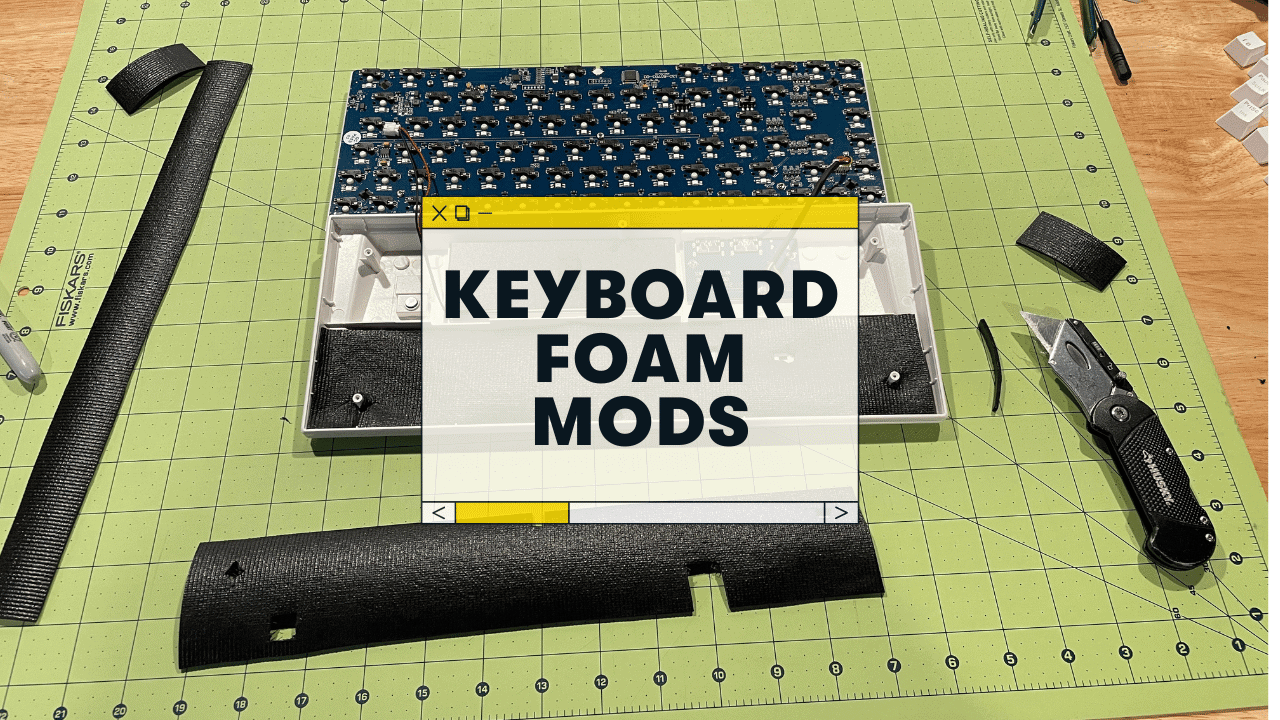
If you’re looking for a way to dampen the sound of your keyboard, foam modding is a great option.
(and is surprisingly simple and cheap to do)!
So if you’ve got your custom keeb, keycaps, and lubed Holy Pandas (mmmmmmmm smooth!)–but you’re looking to level up even further…it’s time to learn how to foam mod a keyboard ASAP.
Let’s kick things off with a quick sound test!
What is foam modding, and WHY should you foam mod your keyboard?
Foam modding refers to installing foam on top or underneath your keyboard’s keycaps in order to minimize noise and vibrations from typing.
Simple, yes?
The foam can be found at a hardware store (or ordered on Amazon). It is not expensive and it helps make keyboards sound better.
In some cases, the sound improvements are drastic, but in other cases, it might only make a little difference.
ALSO–foam can make your keyboard feel better.
Foam modded keyboards have more padding to your keystrokes, and they’re also HEAVIER, making it feel more luxurious.
Good news and bad news though…
- Good news = there are TONS of different materials that’ll work for dampening a mechanical keyboard
- Bad news = there isn’t a clear “just use this foam” answer. Everybody has different opinions here 🙂
So…
What foam types work best for foam mods?
Let’s look at how to dampen keyboard noise with various materials.
Packing foam:
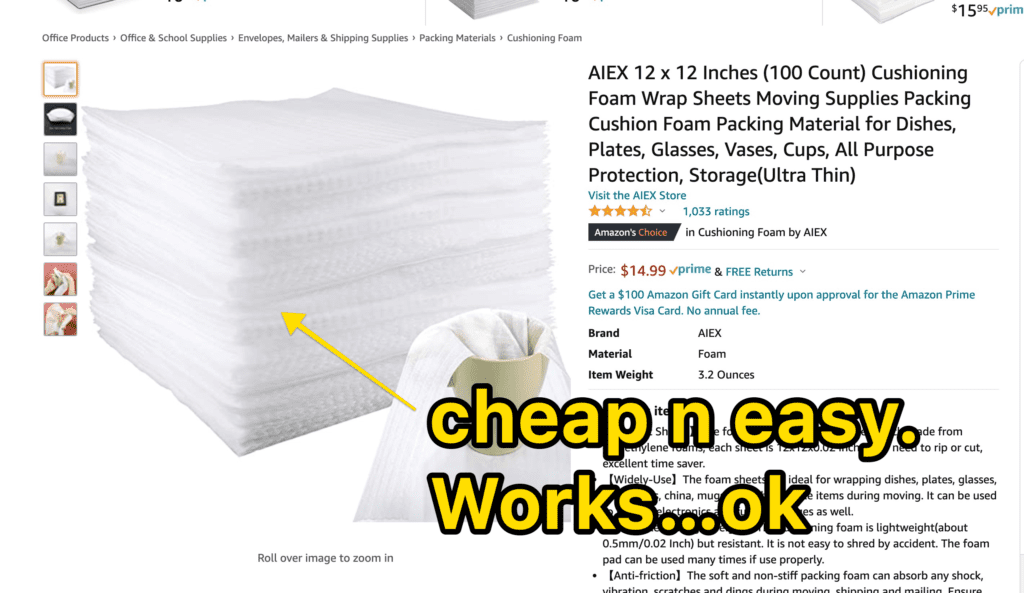
This is the foam used in boxes to protect shipping items. It’s thin, inexpensive, and easy to cut into shapes.
This foam can be found at any local hardware or craft store for a very low price. Some people like using it because you can see through it easily so that your keyboard lights shine brightly from beneath the foam.
Our grade?
MEH. There are other, equally cheap, and probably better options.
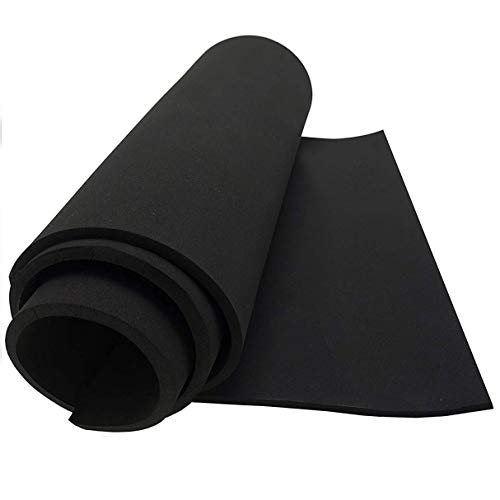
Neoprene foam:
- [GREAT INSULATION FOAM] The neoprene sponge foam sheet roll makes an ideal liner for tool chest drawers or file cabinets, and can be cut to make replacement gaskets for use in water pumps,...
- [VERSATILE USE] The DIY projects sheet is an all-around rubber padding and sealing tool that can be used on weather stripping doors, gaskets and pipes. It is also easy to work with and can be...
- [NON-ABSORBENT] Say goodbye to surfaces that is soaked in odor, oil, moist or other hazardous and unpleasant elements as this neoprene sheet is non-absorbent and weatherproof, which means that it...
This foam is used in wetsuits to absorb water and keep divers warm, but it works just as well for sound dampening mechanical keyboards!
It’s thicker than packing foam so you’ll need a sharp hobby knife (X-Acto or craft knives work great) to cut it into shapes that fit.
We suggest ordering it on Amazon for a good price.
Our grade? YASS! It’s cheap, it looks cool under your keyboard, and works great at absorbing sound.
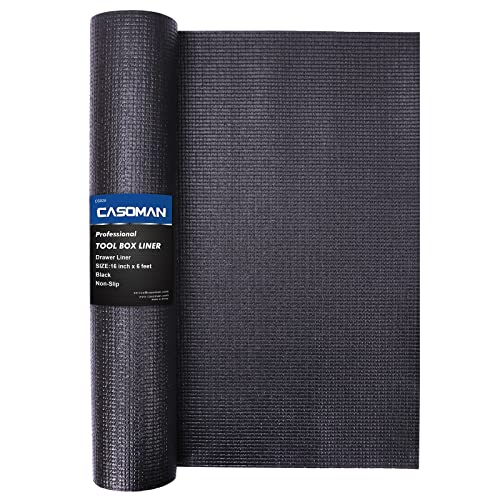
Lining foam:
- This professional toolbox liners have a textured grip that protecting them against scratching, marring, and impacts into each other each time you open and close your drawers
- The foam mat is tough enough to support any heavy tools, and grid lines for easy measuring and cutting and can be easily cut with a pair of scissors or a razor
- The textured grip is non-adhesive which makes repositioning into any space a breeze. And non-slip top and bottom surface keep tools from sliding
This foam is designed specifically for sound dampening, and it’s typically used to line shelves or other furniture.
Just DO NOT get the lining foam with holes in it! These will absorb less sound than the foam without holes.
Lining foam is thin, easy to cut with an X-Acto or hobby knife, AND these are easy to find on Amazon, Lowes, Home Depot, etc.
Our grade? YASS again! It’s cheap, it’s easy to find, works great, and is cheap.
Sorbothane:
- High Performance Ultra-Soft Polyurethane
- Exception Acoustic Energy Insulation
- Ultra Thin Film Fits Many Different Applications
Ok, lots of keeb nerds swear this is the best stuff.
But, this foam is pricey (it’s also known as a “gelly” or “gelly pad”)–and is generally harder to find. You’ll probably have to order this foam online.
Our grade? YASS with an asterisk*** Sorbothane foam is great at dampening sound…but it’s expensive. (and is it THAT much better than lining foam or Neoperne? We don’t think so).
If you have your foam picked out, let’s do this thing 🙂
Foam Alternatives for Keyboard:
You don’t actually have to stick with “foam” for any other reason other than “it dampens sound well.”
- Bubble wrap
- Paper towel mod keyboard: Instead of foam, you can place a few paper towels neatly in the bottom of your case. I don’t recommend this, as there are fuzzys that can detach and make your keyboard a mess (might even interfere with the PCB operation at some point?)
- Drawer-liner (cheap stuff from Home Depot or Wal-Mart, etc
- Even some types of putty
Memory foam keyboard mod: Amazon actually sells memory foam specifically for keyboards (though I’m sure you could pick up similar memory foam elsewhere). It comes pre-fitted for a 100% full-sized keyboard, but you can trim it down as well!
Or, ya know, kinetic sand.
We don’t actually recommend doing these. Stick to neoprene, packing foam, or drawer-liner. It’s cheap, readily available, and won’t cause a mess lol.
How to Install Foam Into Mechanical Keyboards
Okie dok, let’s walk through the process of installing foam into your board!
First, grab the tools you’ll need.
You’ll need…
- your sound dampening foam
- a hobby knife
- A hard surface that YOU DON’T MIND CUTTING ON. A craft table/board from Hobby Lobby or something.
Don’t tear up your kitchen table.
Secondly, take apart your keyboard!
You’ll need to remove all the keycaps, but you MIGHT not have to actually remove your switches! This will largely depend on your keyboard.
On my RK84 for example, I didn’t have to remove my switches. I simply took a tiny screwdriver and took the PCB (with switches attached) off of the keyboard case.
If you’re not sure how your keyboard is put together or if there’s any other questions on this process….feel free to leave a comment below! 🙂
Set aside the PCB, etc, and let’s get to work on our foam!
Next up, you’ll need to cut and/or resize your foam pieces in order to fit your keyboard.
If your foam is thin and transparent like packing foam or neoprene, it should be pretty easy! Just cut out a shape that fits underneath the keycap you’d like to add sound dampening foam too.
Also, feel free to NOT have one giant foam piece in there, but rather cut up your foam to match the different rows of your keyboard–or other parts of your case.
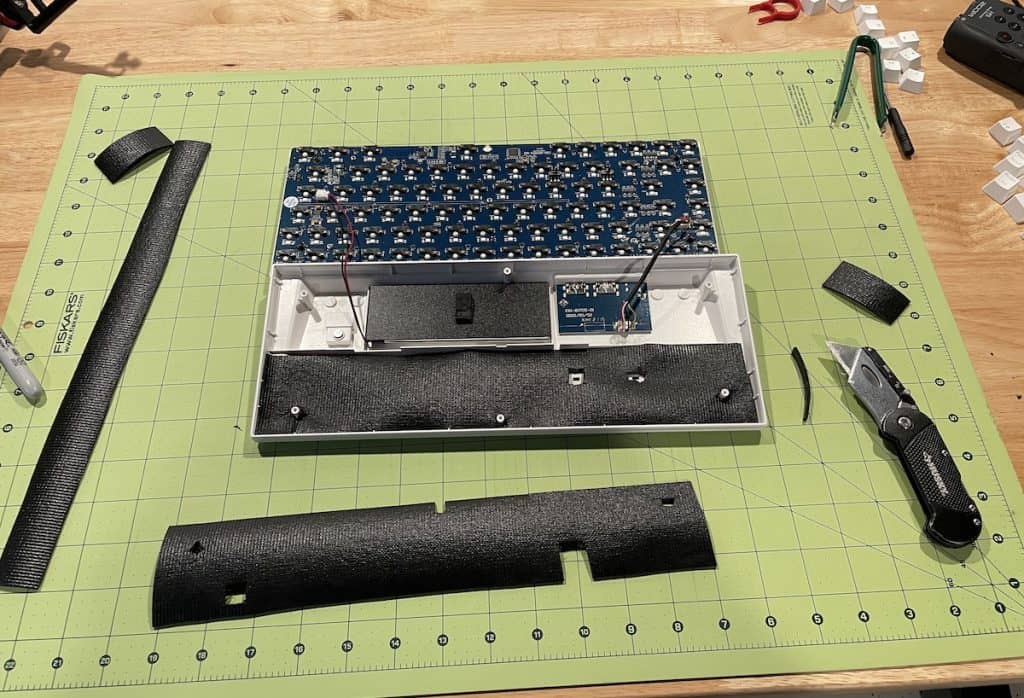
For example, with my RK84 I cut foam into smaller pieces to line the bottom row. Then I used another row of foam on the top of the PCB.
Question: Should I glue my foam to my case?
Answer: NO!
It’s not necessary to glue foam pieces into your keyboard unless they’re actually coming up from the bottom of a keycap. In most cases, simply lining foam under each key is enough sound dampening for normal use – and you won’t have to worry about it shifting or warping during regular typing sessions.
Question: How much foam should I put in the keyboard?
Answer: It depends on the foam and how much sound dampening you’re looking for! If your foam is thick (I recommend 1/8 inch), then one layer will be enough. However, if it’s thin like sorbothane foam or lining, two layers might work better.
Once all of your pieces are cut to size…lay em in the case!
Fit foam under keycaps and make sure it’s not loose. If you need to add a little more foam…do so, but be careful about going overboard since this foam can shift around while typing if there’s too much of it in one area.
Last, reassemble your keyboard.
If you’ve done a good job cutting the foam, it should reassemble, no problemo!
If you have any trouble or feel resistance, take the foam out and trim it a bit more. (And if you did take your switches/PCB off of the case, be sure to put them back on before reassembling)
Then….test that bad boy!
Does it sound better? I hope 🙂
Foam Modding Tips and Tricks to Make the Process Easier:
Here are a few tips to make the process easier.
- Give yourself enough TIME to do this! It will almost always take longer than you think it will.
- Grab some lamps! It will help if you have a light that shines right on your foam.
- Grab some tupperware to store screws from your keyboard/case, so you don’t lose anything 🙂
- When in doubt, LESS IS MORE with the foam! Start with a thin layer and see how it works.
- Don’t expect the difference in sound to be THAT drastic…it definitely helps though!
Questions about the process? Ideas? Concerns?
Related: 9 More Keyboard Mods to improve your mechanical keyboard.
Happy foam modding 🙂